This year I procrastinated the Halloween costume making. My family and I went on a trip the 2nd week of October and I was sure there’d be plenty of time to deal with spooky prep when we got back. We returned October 24th and it was only then that I realized how close everything was.
“What, Halloween is this weekend??” I was really in shock.
My son wanted to be Darth Vader and we had zero ready. Thankfully my daughter wanted to be witch and then a fairy and then a witch… either way, we had enough dress up clothes for her to accommodate a few witch fairy princesses.
I decided the best way to go was paper mache. I’m not a huge paper mache guru, but I can hold my own in the paper craft arena. So off I went, balloon, paper and flour goo in hand… literally.
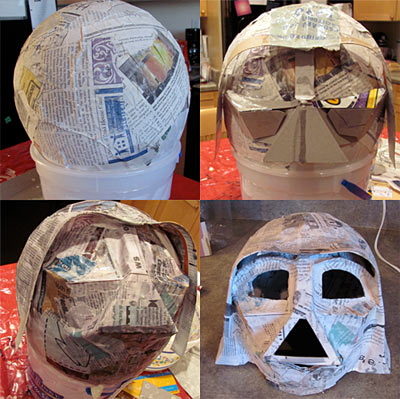
I took on this mask making task with the mind set that I was sculpting. I first built a standard, rather thin, balloon shape and let it dry.

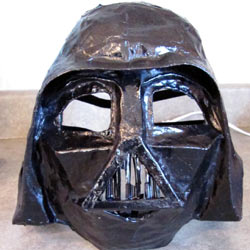
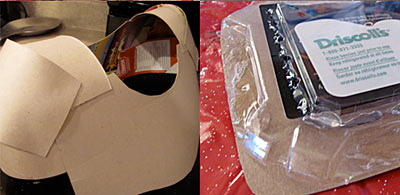
Next, using cereal box cardboard, I created various shapes to form the sculpted face of dear ol’ Darth. Again I added a thin paper mache later and let it dry. I continued the process of adding shapes and then layers of paper mache until I had the form I wanted. I then cut off the back of the balloon shape leaving only the front of the mask. I cut out the holes for the eyes and mouth. added a little more paper mache to clean up the cut edges. I used a portion of a plastic berry container to create the vented fronts of the mouth piece. I used the eye pieces of some old sunglasses for the eye sockets. I hot glued the various pieces and parts together.
Finally I sprayed the whole thing with black spray paint and then a high gloss varnish. The mask looked a little less bumpy before the varnish, but in the dark no one knew the difference. I glued on elastic in the back to hold the mask on.
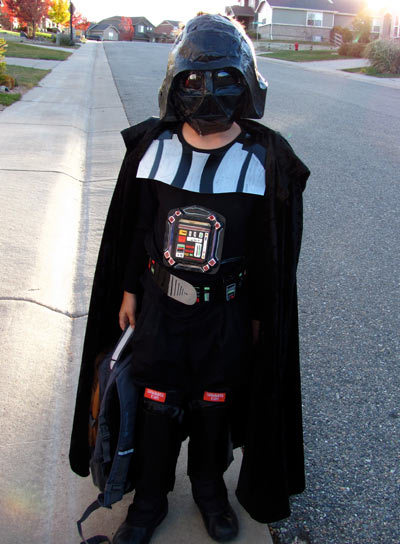
The rest of the costume was made with the cardboard from a bunch of cereal boxes. Finally I had a valid reason to be keeping all that cardboard around which drives my husband crazy!

I made a collar with the cardboard and hot glue. The I made a set of sin guards which were held on with elastic around the back. Using some tiny battery operated lights we had a fancy light up belt and chest computer which was attached via Velcro to an old black shirt. The belt was made of cardboard and a layer of ridged plastic from the berry container with a Velcro piece at the buckle. The I made a fancy little techie chest piece out of the top of the berry container. The belt held the batteries for the lights which included a handy on/off switch… yet we still managed to let the thing run down to dim. All details were painting using my new Marvy Uchida paint pens. It was so much easier to draw on the details than to paint the tiny controls with a paint brush.

This was a fun project for me. My son was happy and my budget wasn’t busted.
Materials:
- Newspaper
- paper mache mix – flour and water
- Balloon
- recycled berry container
- A giant ice cream tub to hold the balloon while I worked on it
- Black spray paint
- Hot glue and glue gun
- High gloss spray varnish
- Black elastic 1/2″ wide
- Marvy Uchida paint pens – metallic silver, red, green, blue